¶ Tips & Tricks
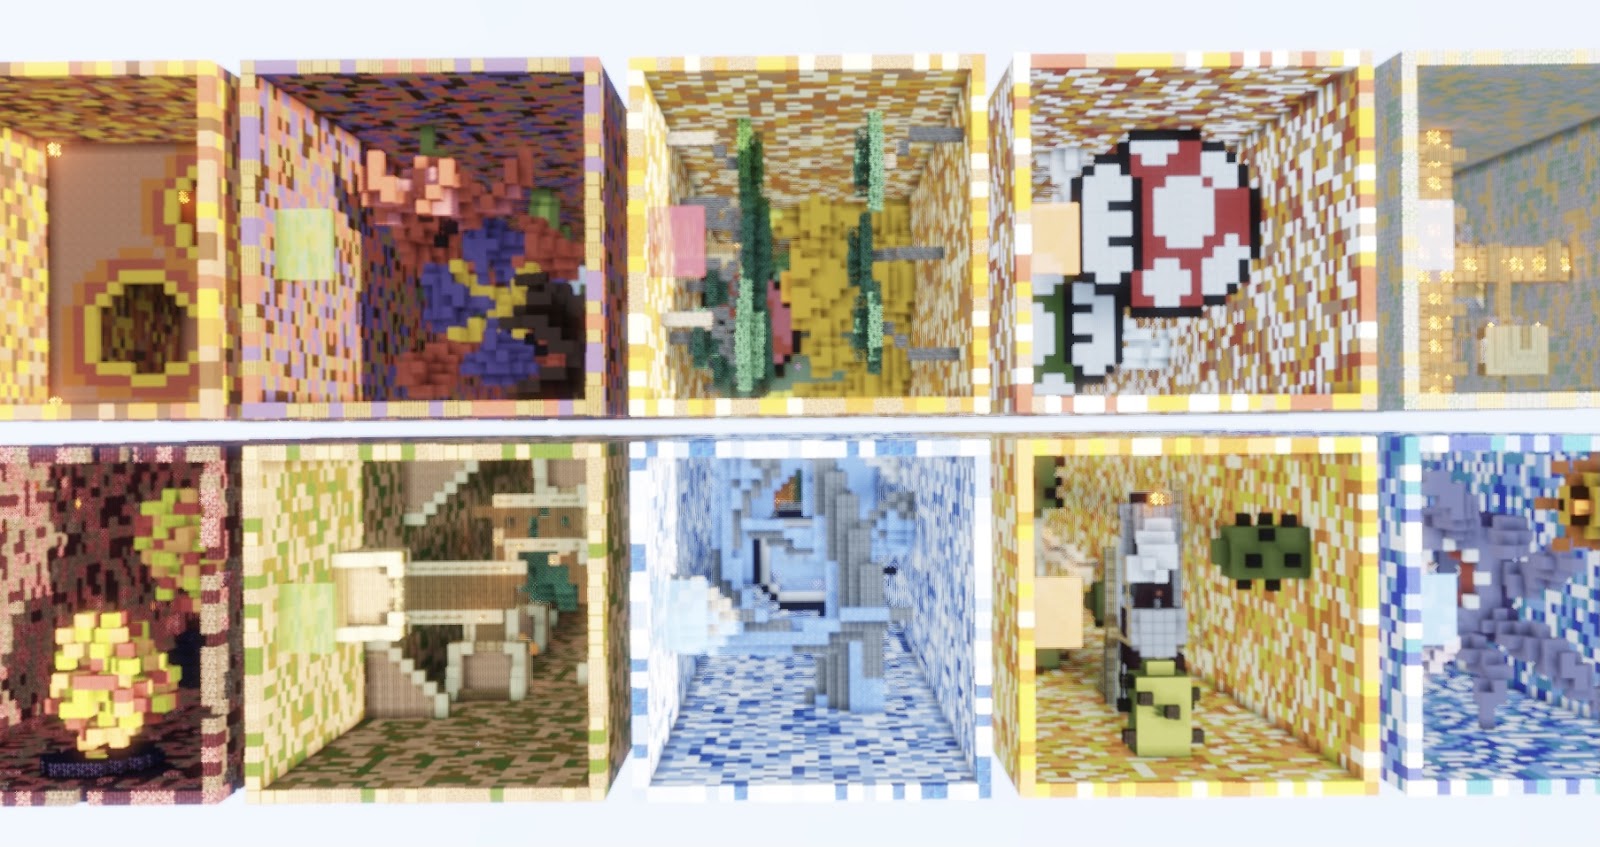
Even though dropper maps are different from normal maps, there are still certain guidelines that we recommend players follow if they want to create these types of maps.
Below you will find information on central topics that you are able to reference before submitting a dropper map:
- Make sure your dropper map is a minimum amount of 150 blocks tall when building it. It is not required but it is recommended when aiming for your map to get accepted.
- Make sure once you arrive at the plot, it is comfortable for players and judges to test your map. You can do so by making your map in the center of
/plot middle. - Even if themes are not related to normal maps, try to find map ideas that haven’t been done before in a dropper.
- If you want your builds to be seen by others, make sure to light them up with light-source blocks. Otherwise, players who play your map will have to use Night Vision potions or
/nv.
DISCLAIMER: If you don’t meet the following guidelines, do not worry. These are only tips that may increase the chance of your dropper map getting accepted.
¶ Difficulties
If you feel unsure about the difficulty you have chosen, here is a reference on how dropper maps are based on difficulty, which could help you build your own dropper map.
Pushed to land correctly: Make the drop of your map in a way that players will not need to move much to reach the end. Adding bright or contrasting colored blocks could help you with this.
Large zones to land on: Adding blocks like water, cobwebs, or lava makes players either slow down or completely stop movement. While dropping, it is recommended for builders to add large zones where players can land on. It is suggested to combine this with builds on top of the zone, so it is easy but at the same time, it is not free to be abused all the time.
No trolls on the map: Trolls are confusing parts where players can easily die and have to restart the map often. Examples of trolls include quizzes, mazes, and multiple-choice decisions.
No big builds interfering when you drop: Big builds in the way of the drop zone are not recommended for the easy difficulty, as it is difficult for players to avoid touching it and they have to restart often.
![]() Add parkour to the map: Starting with parkour is a good option when coming to build medium droppers. Simple and easy jumps before dropping will slightly confuse players' orientation on where they should go and may distract them when dropping.
Add parkour to the map: Starting with parkour is a good option when coming to build medium droppers. Simple and easy jumps before dropping will slightly confuse players' orientation on where they should go and may distract them when dropping.
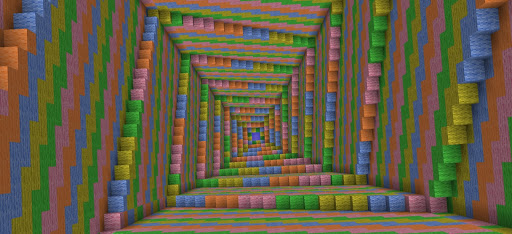
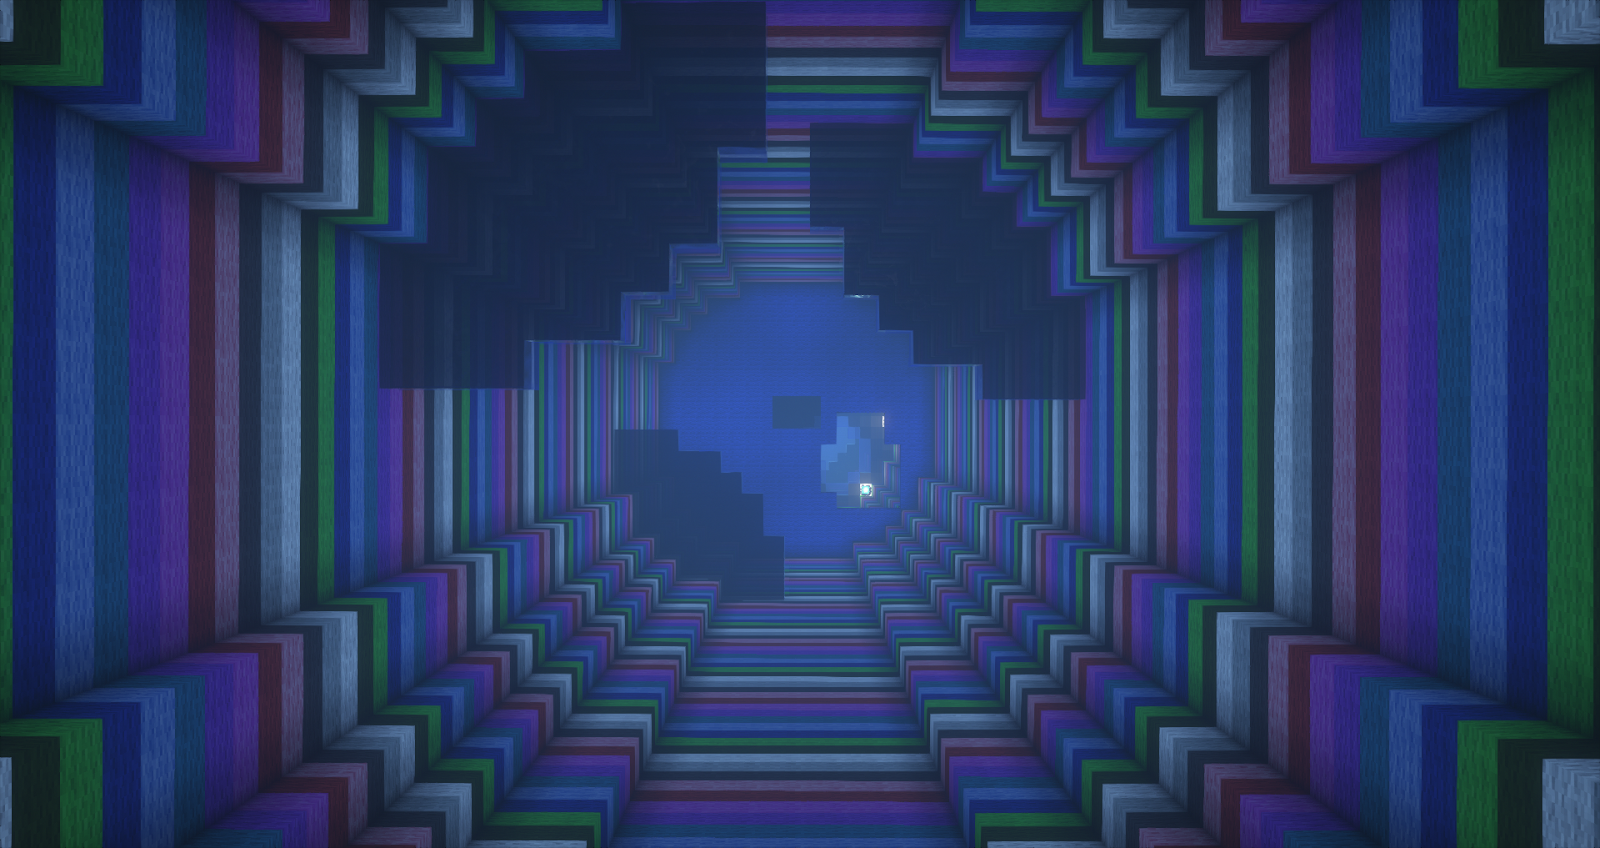
Optical Illusions: Making the whole map with the same pattern or using related blocks may sometimes create optical illusions. Use this to your advantage to confuse players on where they should drop.
Use blocks that look alike: Although Minecraft blocks look different when placed next to each other, it is difficult to compare the difference between them when looking from a major distance. You can use this at your advantage and make players think they have to drop to “slime” or “water” when it is actually wool, clay, or other similar blocks.
Small to Medium builds: Builds interfering when you drop are normally seen on medium maps. It is recommended to only add one towards the center of the dropper, or multiple small ones.
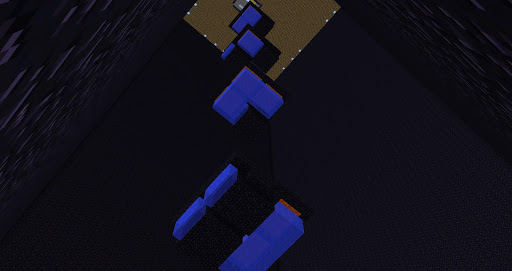
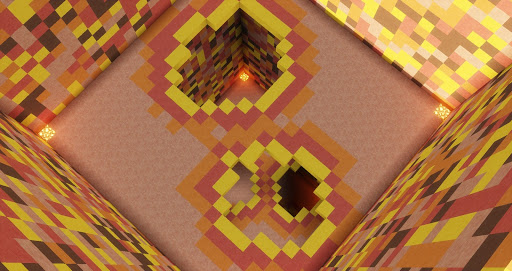
Small spot to land on: Make your landing spot small so players have to constantly retry the dropper until they figure out the position of that specific zone.
Questions/Riddles: Questions or riddles can be given to pass through another stage of the map, such as incorrect answers that send the player back to the start. Be wary of creating difficult questions since most players must be able to answer them. Riddles are an amazing brain teaser that will really get those thoughts running!
Make sure that these riddles or questions do not take up a huge amount of the map since it would be too lengthy and make the dropper less enjoyable.
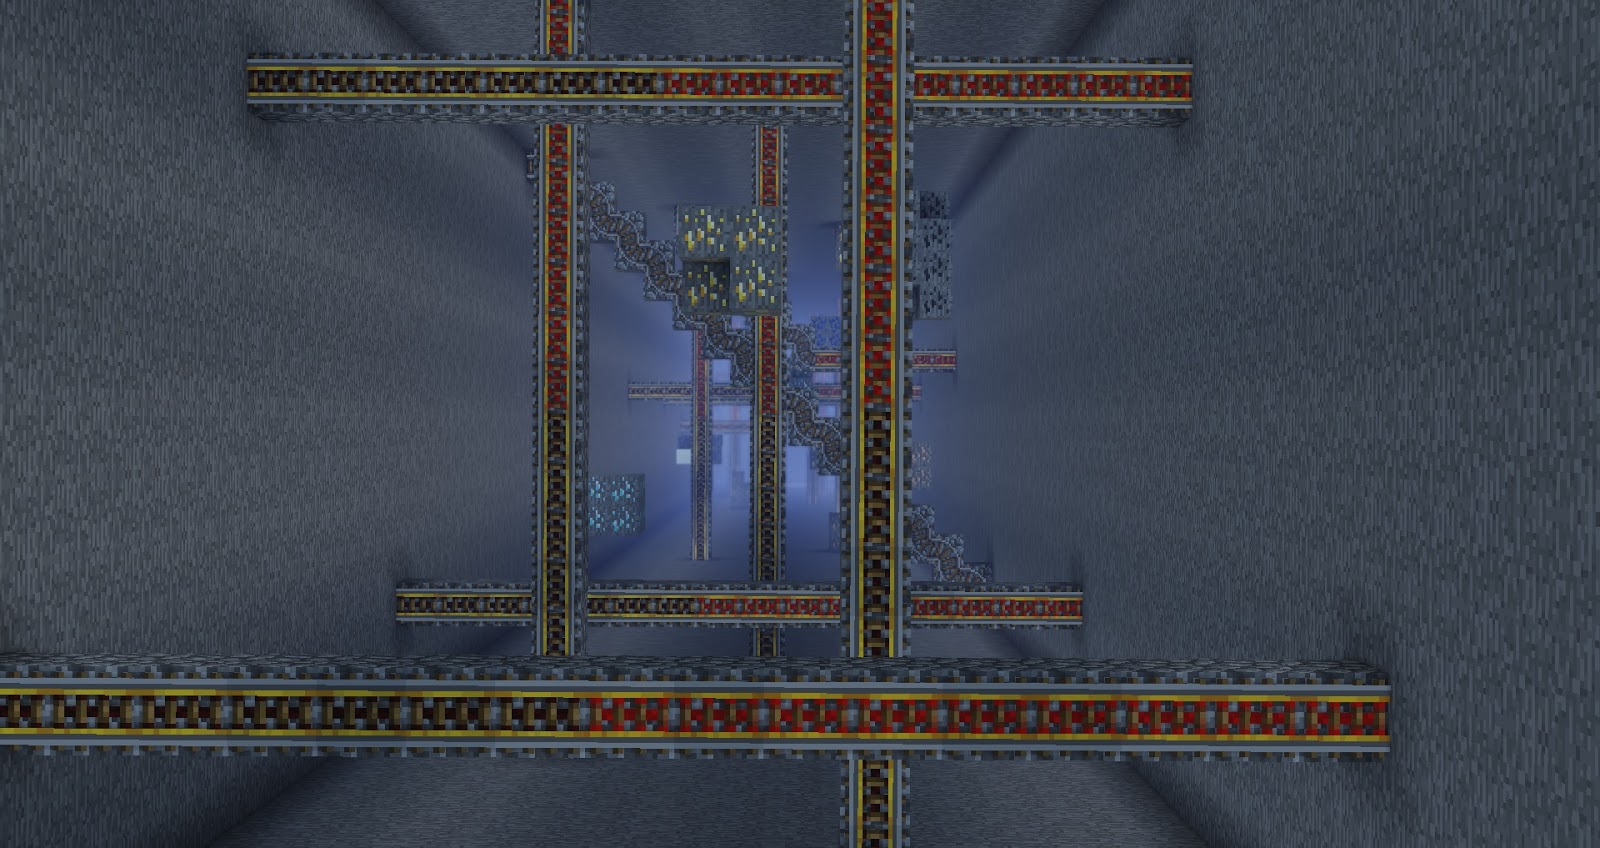
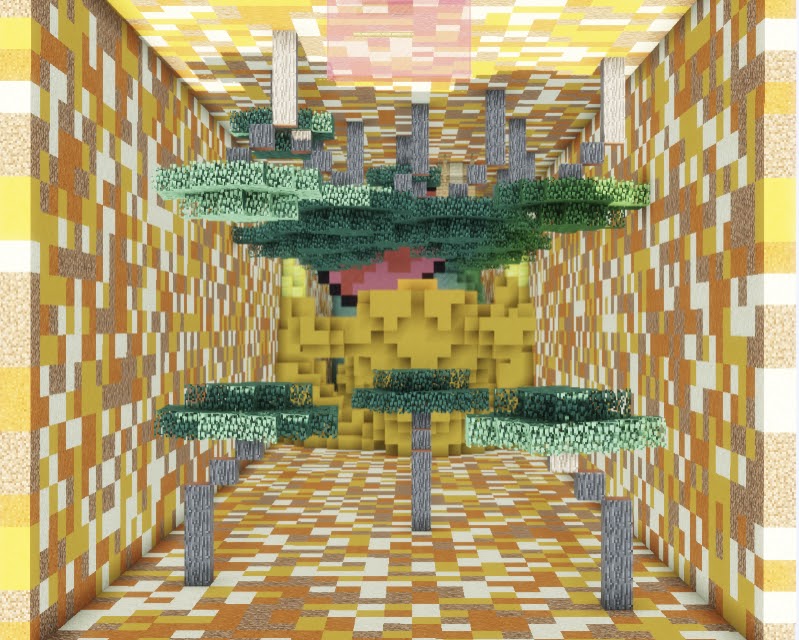
Vary your landing spots: Landing spots can be ladders, cobwebs, vines, water, lava or any other blocks you can think of! The ending does not have to be at the bottom of the map. You can have slimes at the bottom leading to a hidden platform where the actual ending will be. Endings can be puzzling and require some thought!
Puzzles: Your maps can be quite puzzling. These puzzles can also include small mazes to really get those cogs turning! A maze of memory as I like to call it. Make sure to keep these puzzles quite short so they don't take up a majority of the map. Small, intriguing puzzles will do the trick!
Others: Remember the tips from easier dropper maps! Large obstacles, Parkour, Riddles and more can be included in your map! All you need to do is make these ideas fit for an Expert Map.
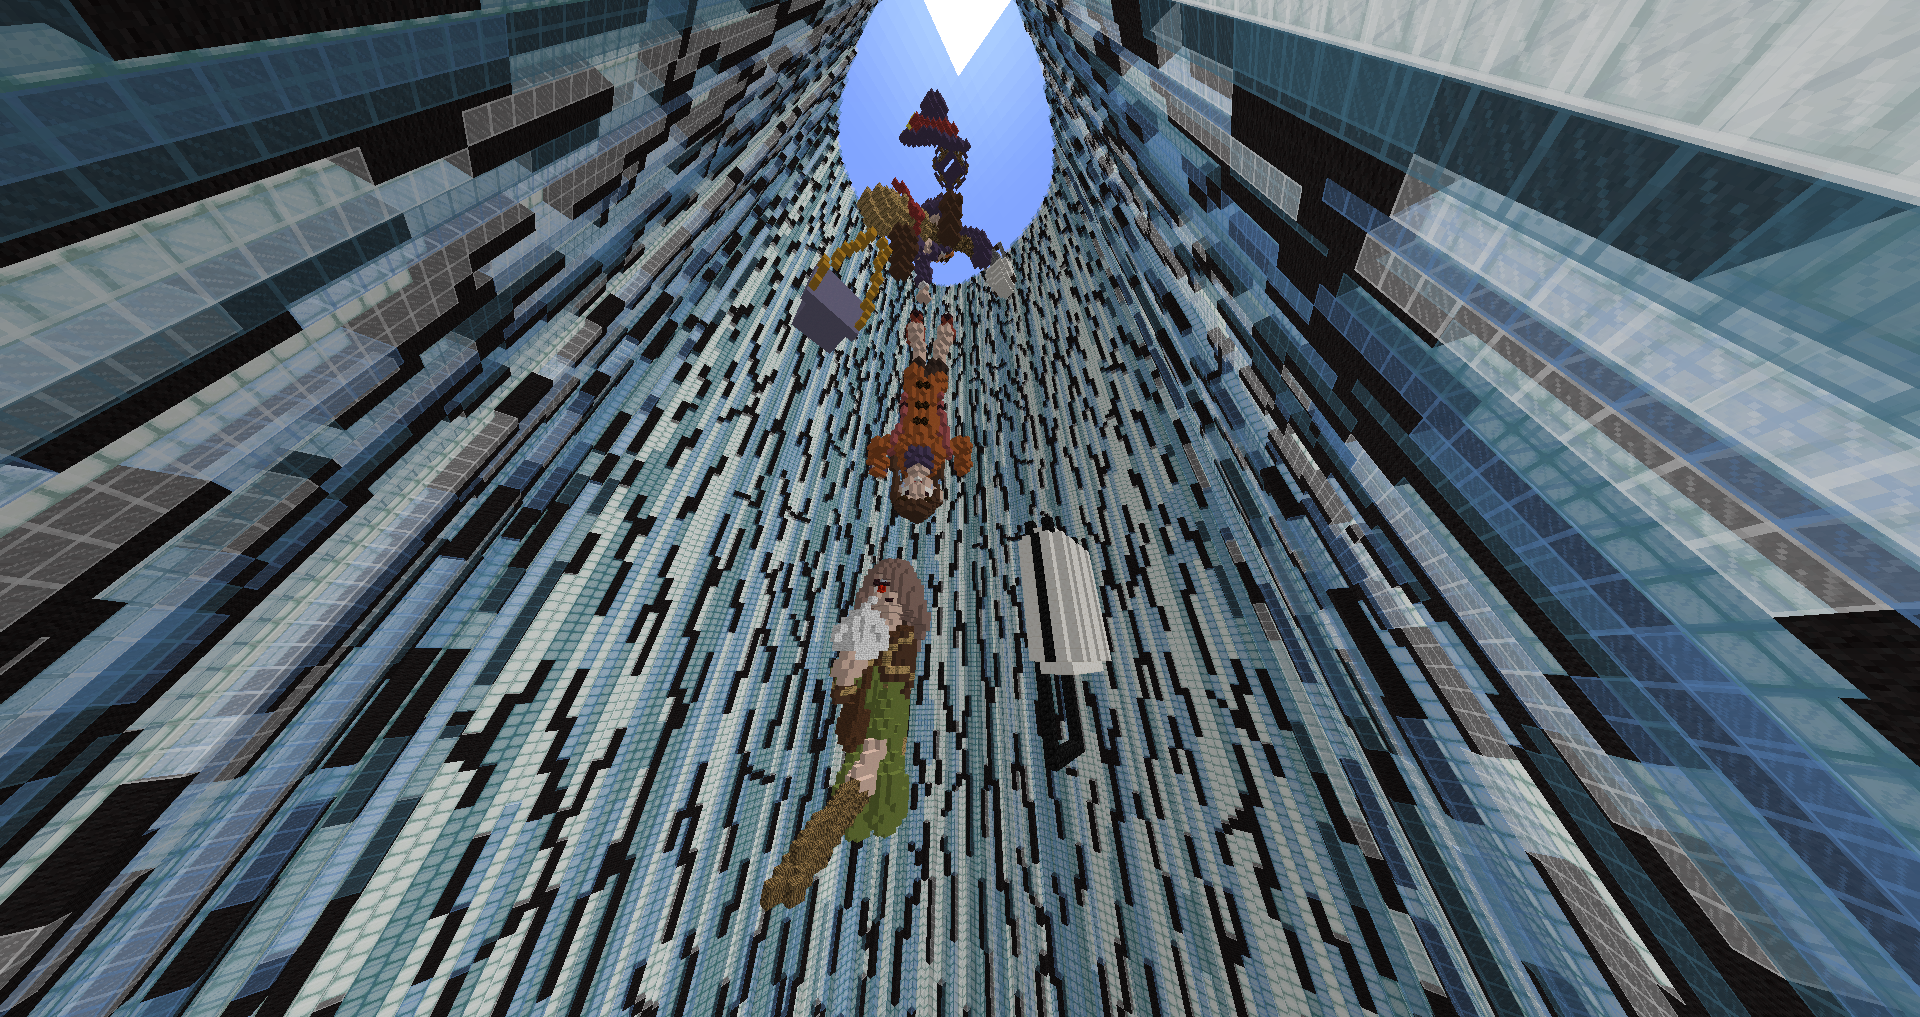
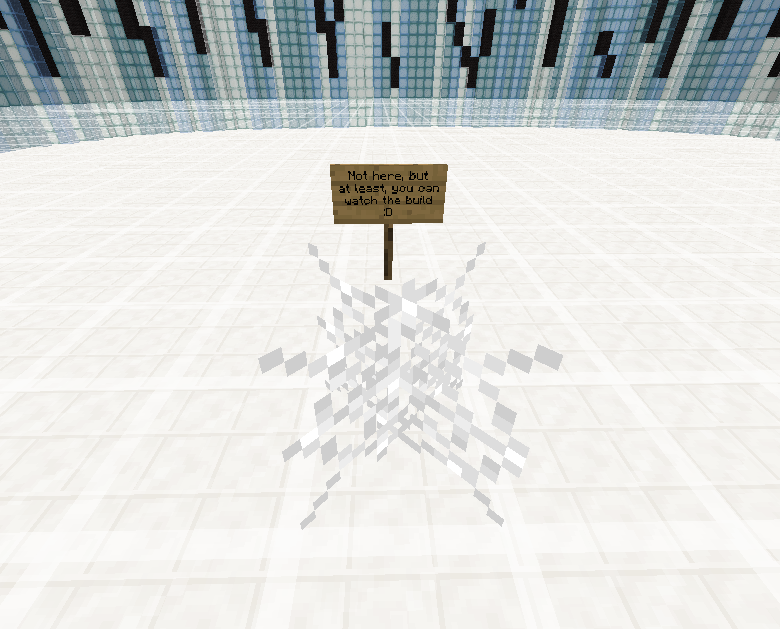
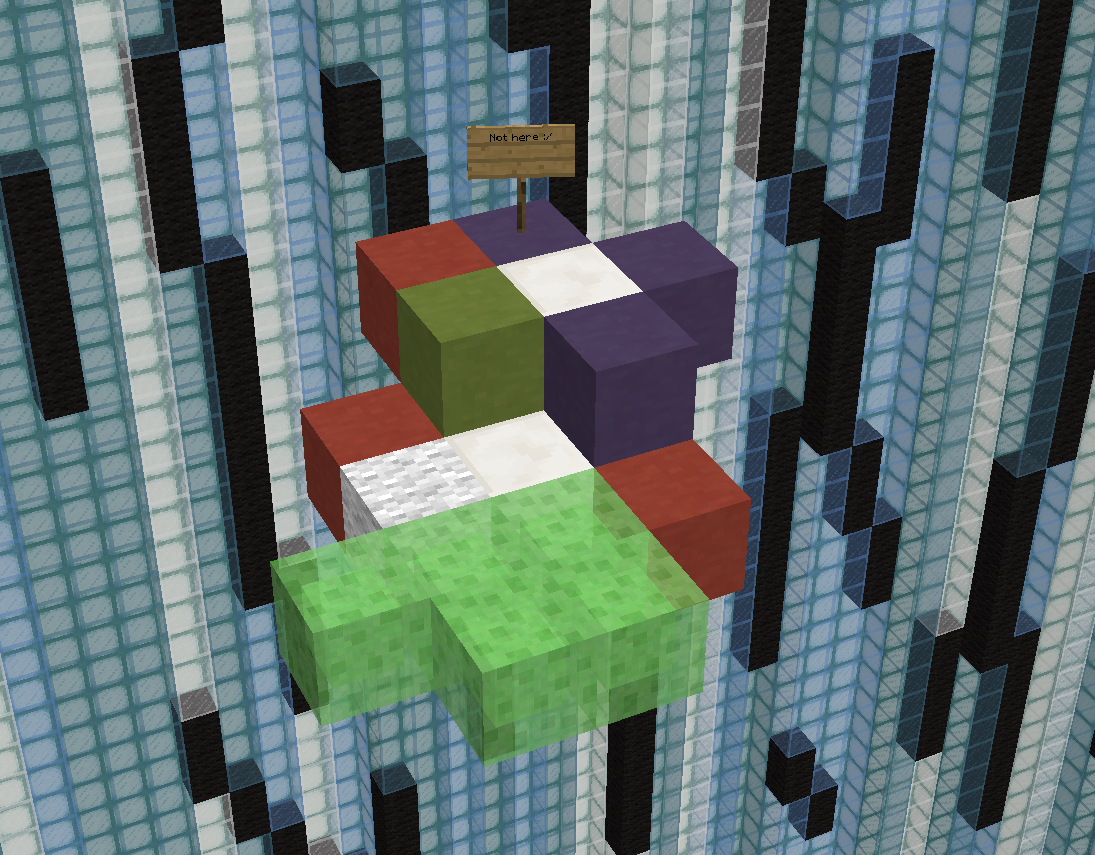
Not here, but at least, you can watch the build
:D
Not here:/
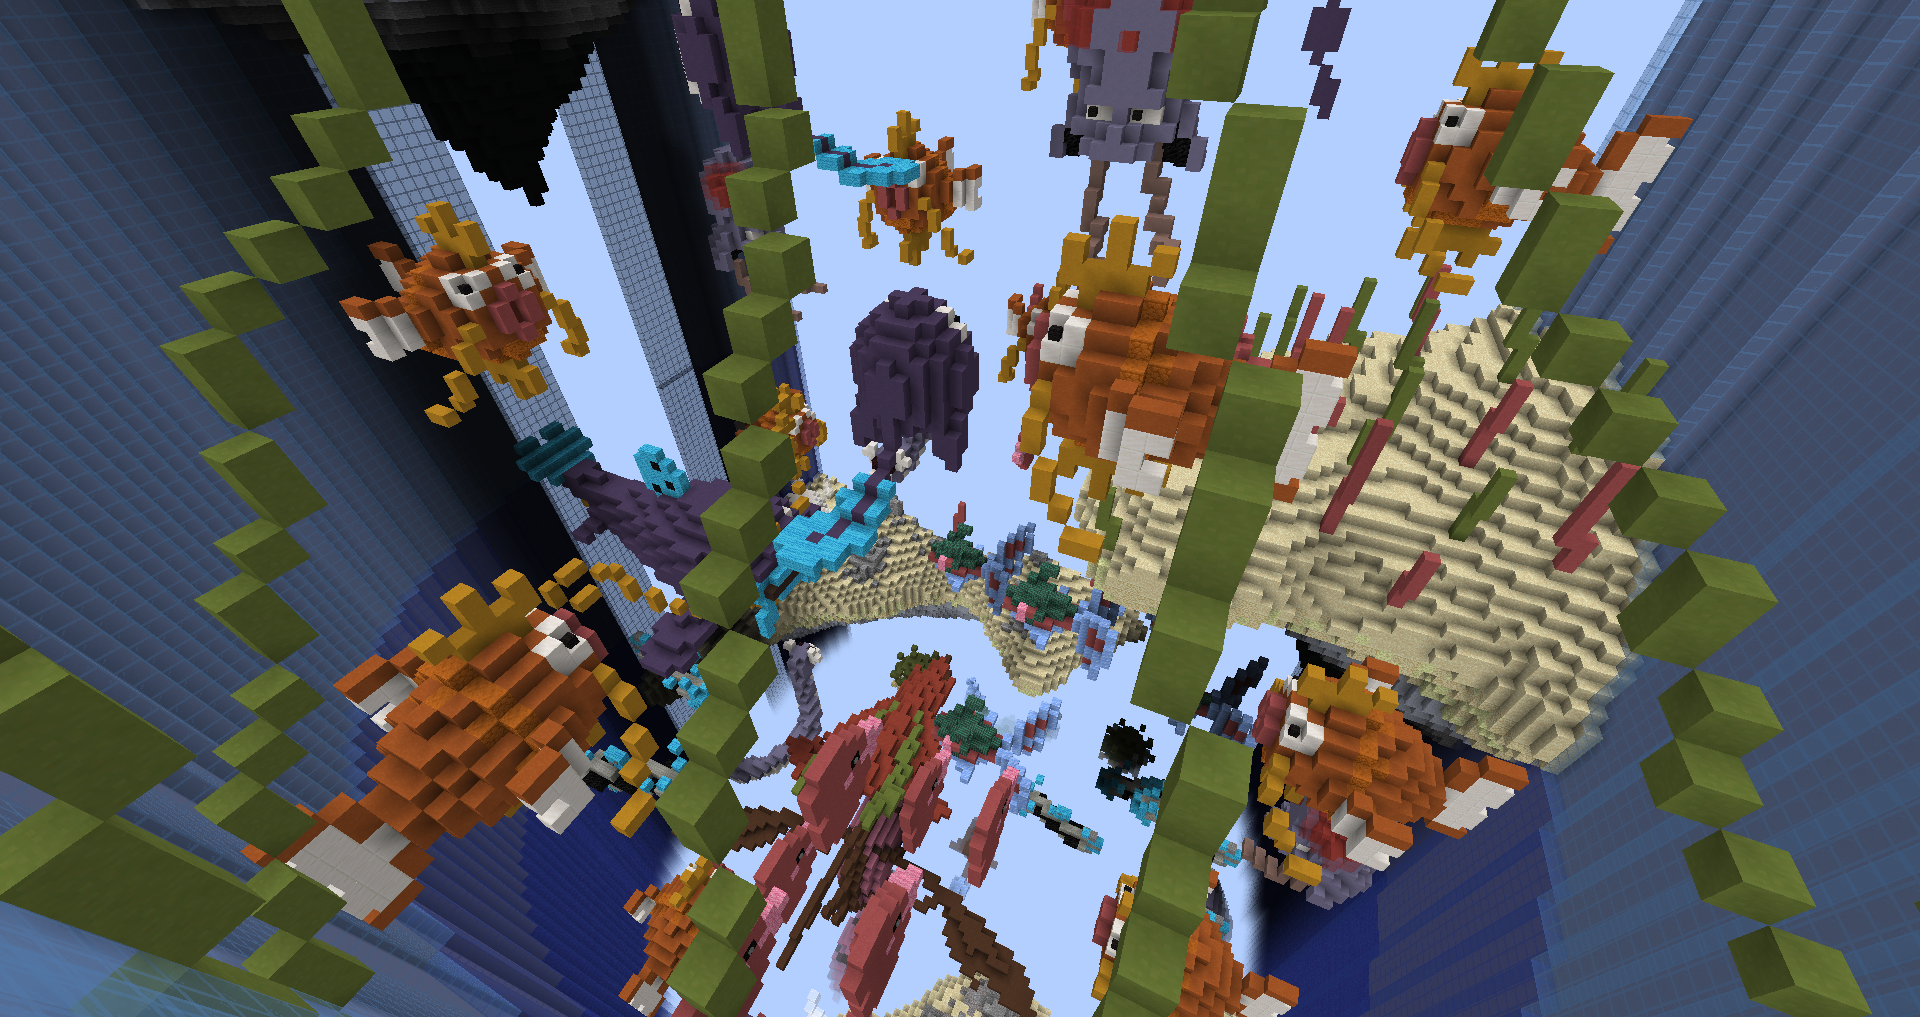
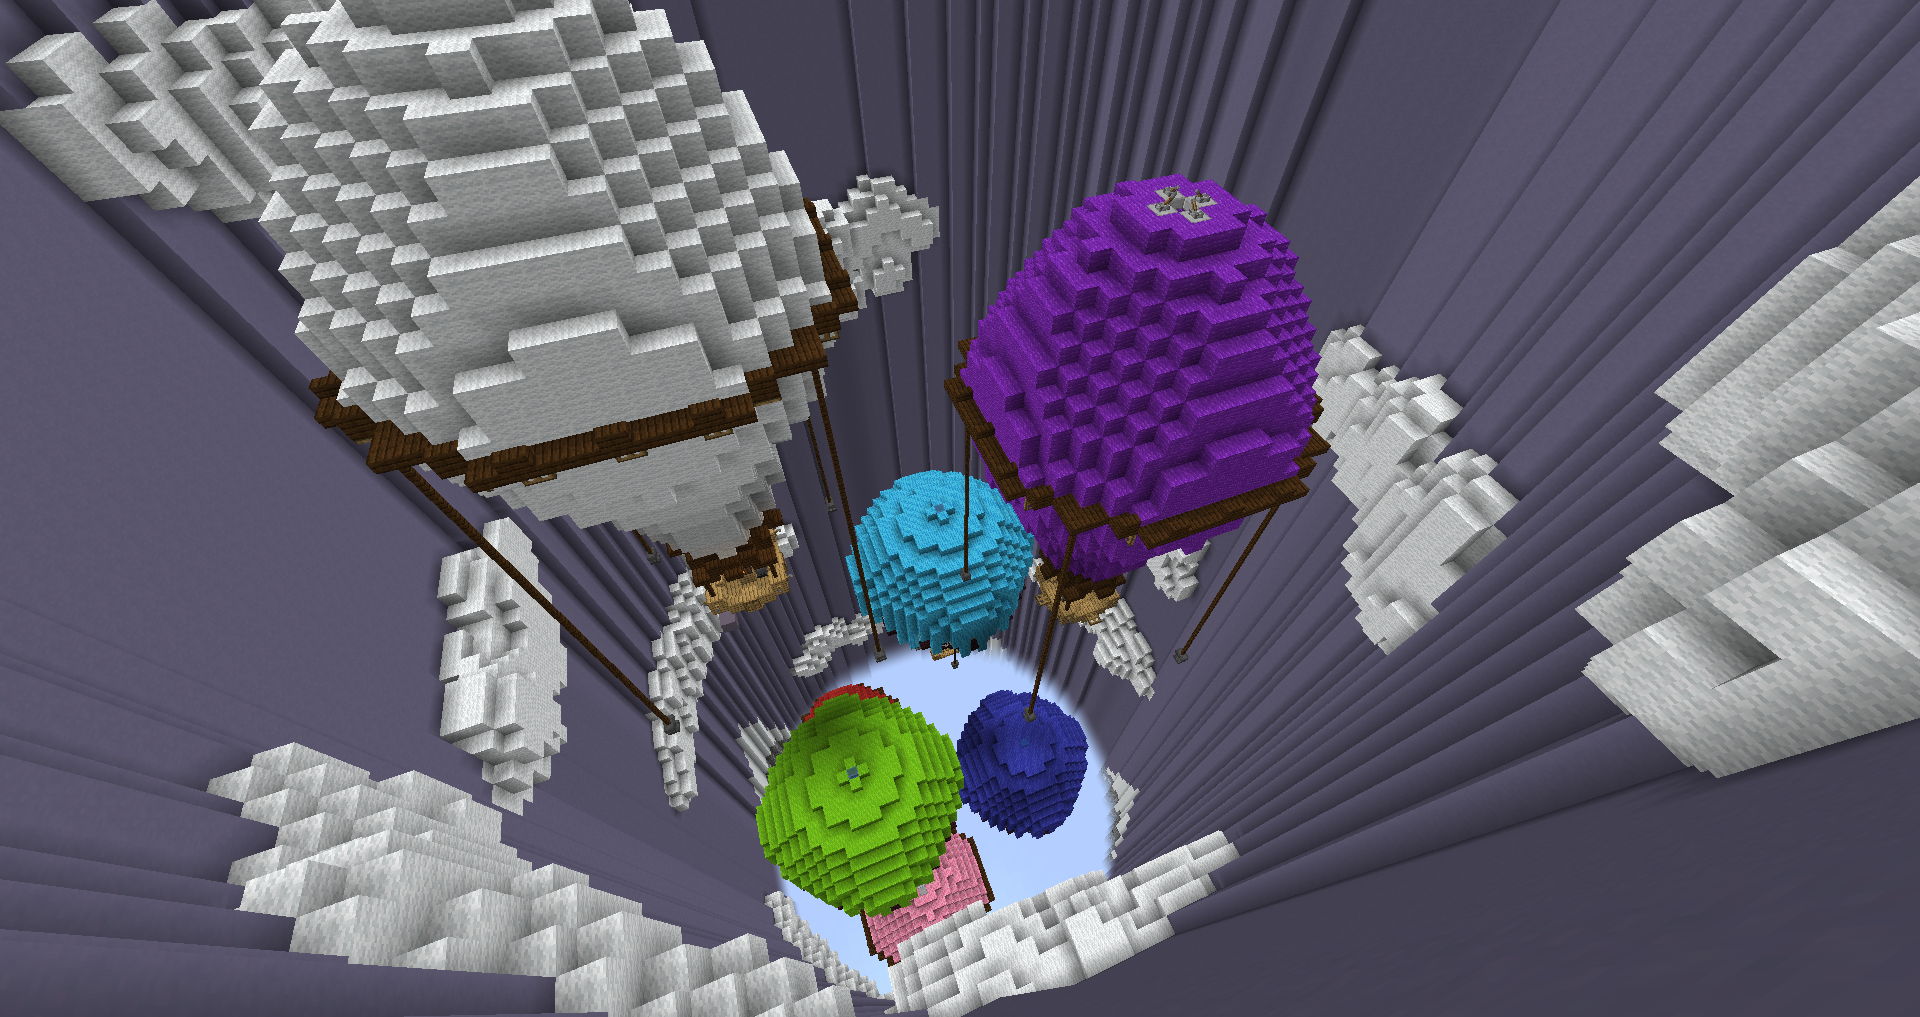
Insane Maps typically require multiple part drops. The drops in these maps will require really precise movement to reach the end of the map.
What Next?
After building your map, you are now ready to submit it. For more information about submitting maps, head over to the Making Original Maps article. Follow the same steps as if you were submitting a normal parkour map.
NOTE: You may contact staff if help is needed through
/helpopor a support ticket on the forums.